Completing the rebuild of Jr
 Finally, after a weeks worth of daily-back-n-forth to Home Depot, we are complete with the basic build of the Compact Jr trailer, and it is nothing like the original plan. Yes, my Mother and I both have the same sickness of changing our plans mid stream… numerous times:
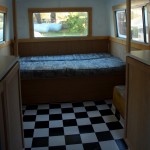
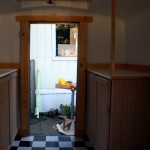
Instead of hard wood floor, we have linoleum. Instead of two thin beds that serve as bench seating, we went with one large fold-out bed with storage underneath. Instead of a full-height pantry on one side, we went with two counter tops with cabinets underneath. All of these changes come from my Mothers want for more open floor-space (My Sister jokes about Mother’s wanting to host dances in there), which was achieved.To increase the floor-space the bed compresses back to a couch and the cabinets are only 14 inches deep instead of 20 inches. No walls were put in separating the bed/couch area from the kitchen area making it very open to the eye. Other than some minor trim additions, the interior is complete.
 While we originally planned to install a 120v/12v fridge, we have changed that to a 12v powered ice-chest as it can be brought out of the trailer. The same will be done with the cooking range; instead of a permanent fixture, we will use a removable camping stove. This will allow the kitchen to ‘move’ outside of the trailer so we can better enjoy the outdoors while camping.
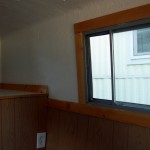
 Luckily, the majority of the work is done… and I couldn’t be happier (I’m sick of it). We still have some minor beatifying to do; adding trim to seal up the corners and edges, replacing the 1X2 supports on top of the counters with decorative posts, adding a larger and more decorative board above the door (will hold a 12v light), adding two kitty-corner shelves in the corners above the bed/couch, and adding cushions and skirts to hide the wheel-humps.
We are almost ready for some camping!


