Big Blue version 4.0 – Demo to blank canvas
With our 2018 (and beyond?) plans to live solely in the van, we wanted to alter some minor things with the layout as well as update a few items so Big Blue could better accommodate two people. The layout itself is not changing other than shaving a few inches here and there for various reasons, but the amenities are taking a big step up with the following:
- New water tank
- Larger fridge
- Bigger bed
- Sink and plumbing
- Lithium battery bank
- More solar
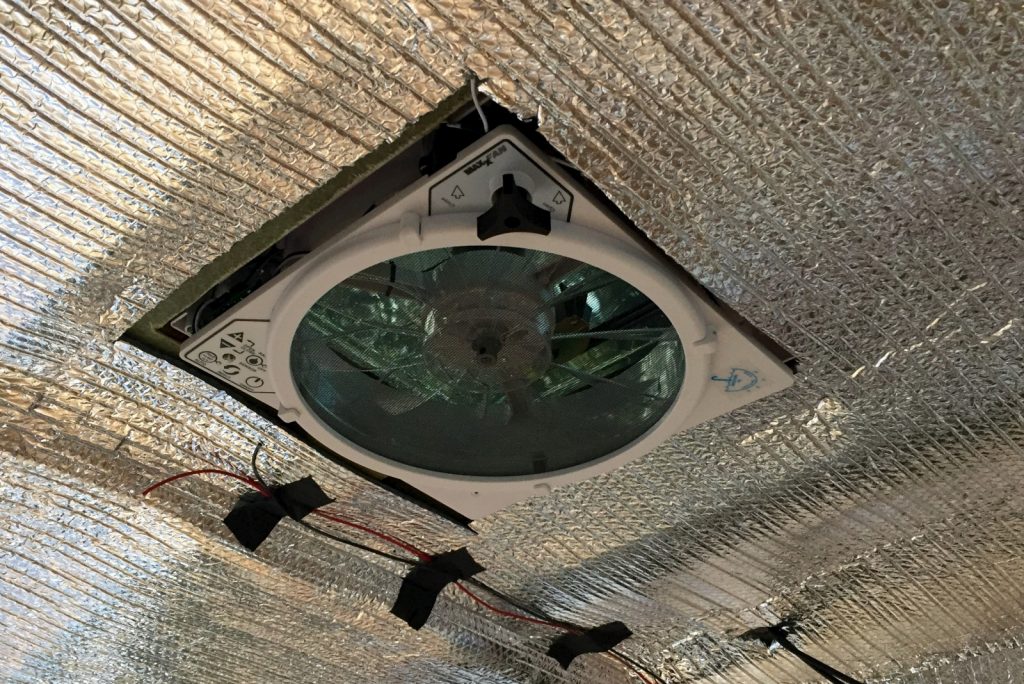
- MaxxAir fan
- Suspension lift
- Bigger tires
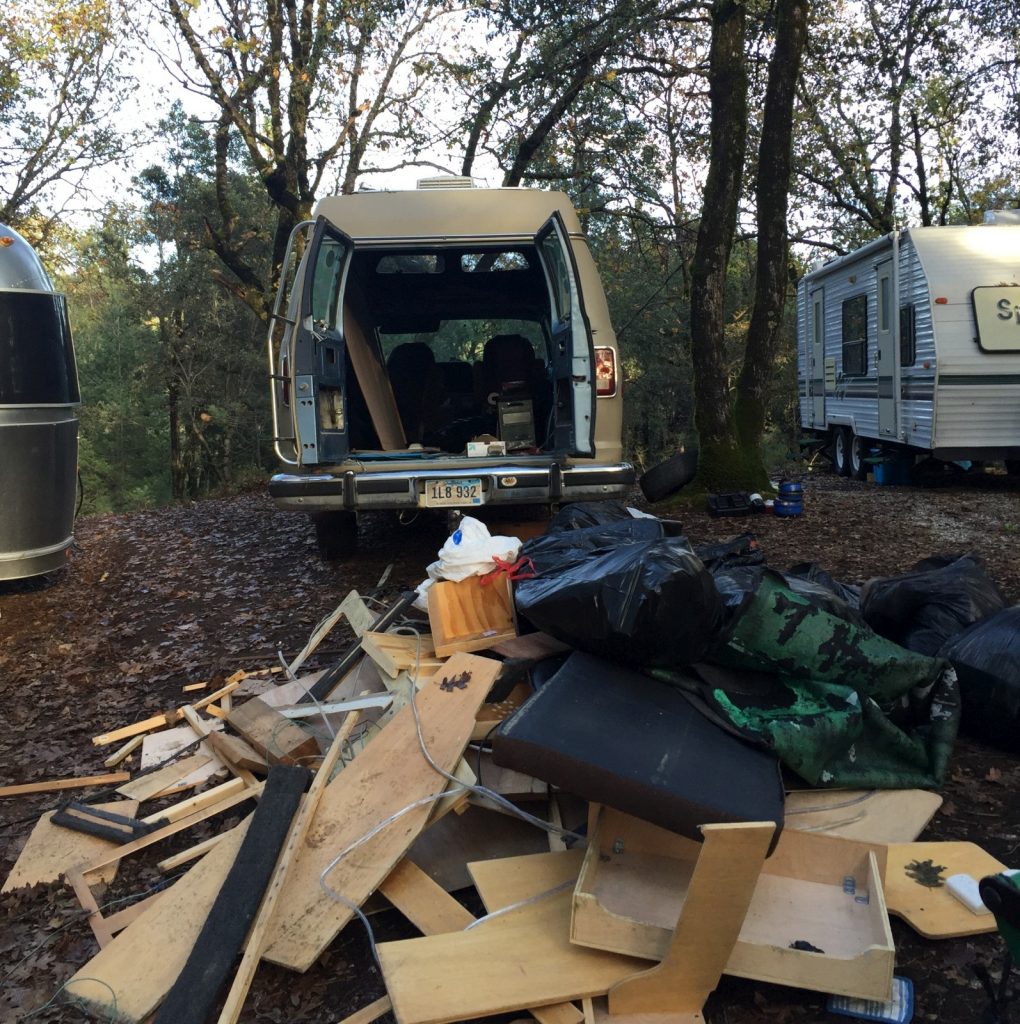
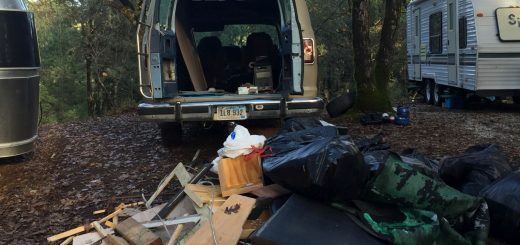
Before any of that can happen, Big Blue’s 2014-2016 layout had to be demolished, removed, and hauled to the local land fill. The image below show about half of what Big Blue regurgitated out and it weighed in at just over 500 pounds. Literally, everything came out of the van, including the captain’s chairs, and carpet below them. It all needed to go (not the chairs, they were kept for cleaning and re-use because they are soooo comfy). Not an overly time consuming process, but before the end of this step, and only the second day working on the van, I tweaked my back again. This severely slowed my pace for the next week, but by the time I write this post, it has gotten much better.
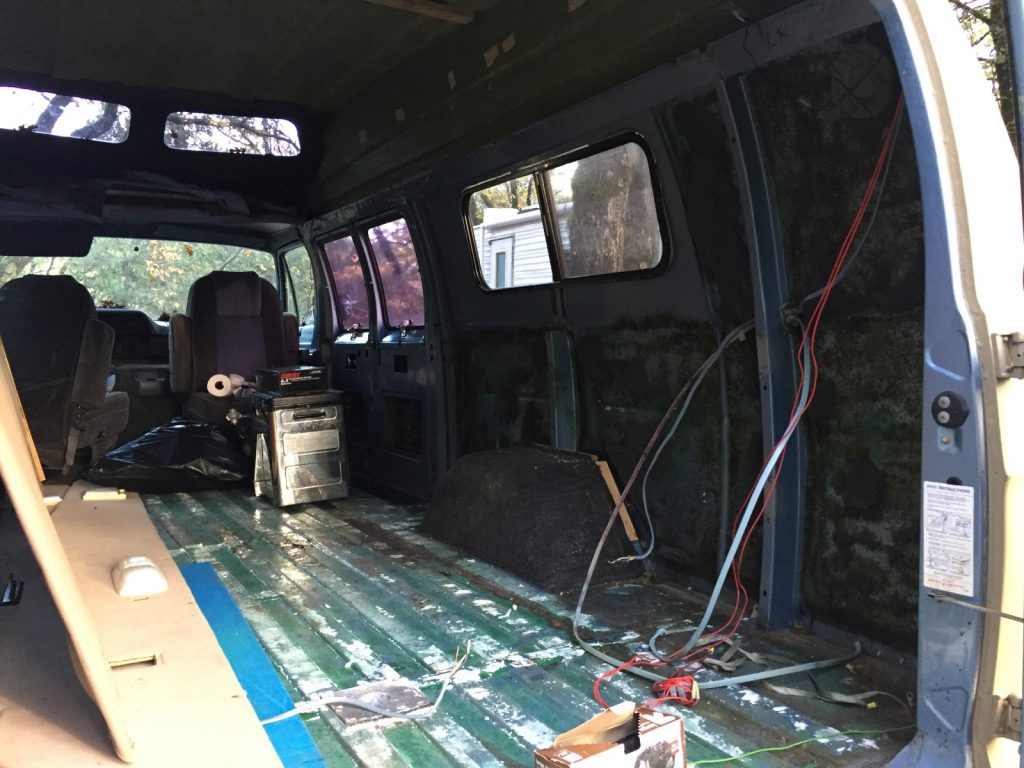
Once gutted, the job of preparing the old guy for a new, fresh, interior had to be done. The 120v wiring was removed and replaced with wiring for only two 120v outlets on the driver’s side of the van. One would power the fridge when plugged into shore power, and another under the desk would be accessible for us. There will be other wall outlets available, but all will run directly from the inverter, not shore power.
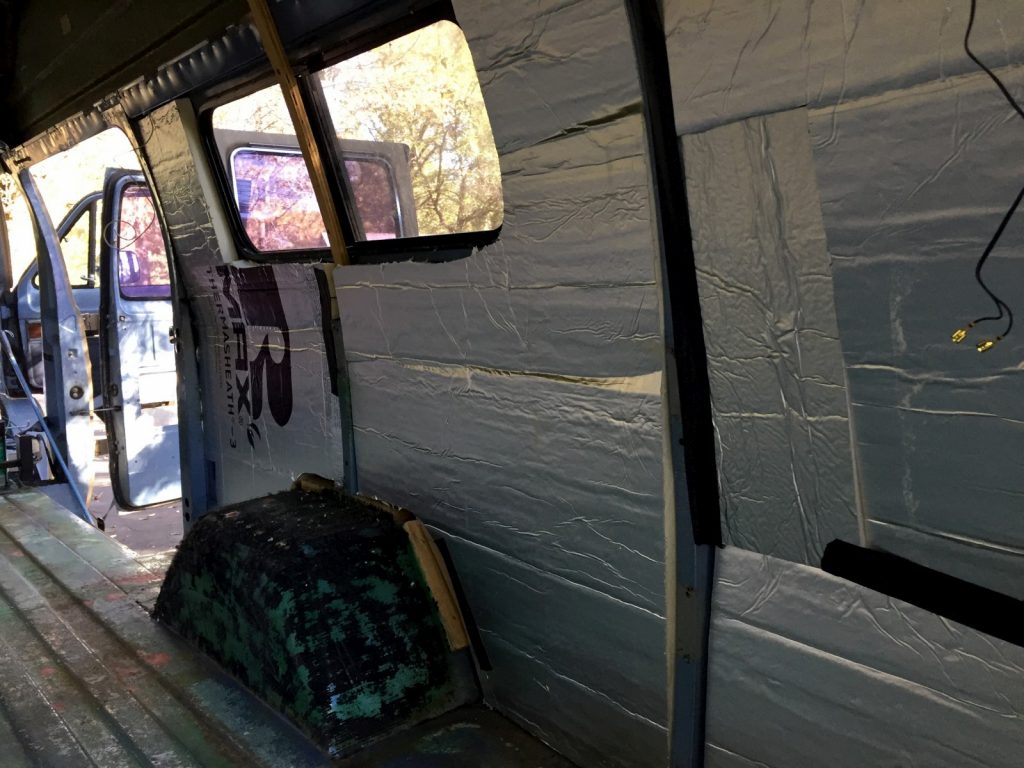
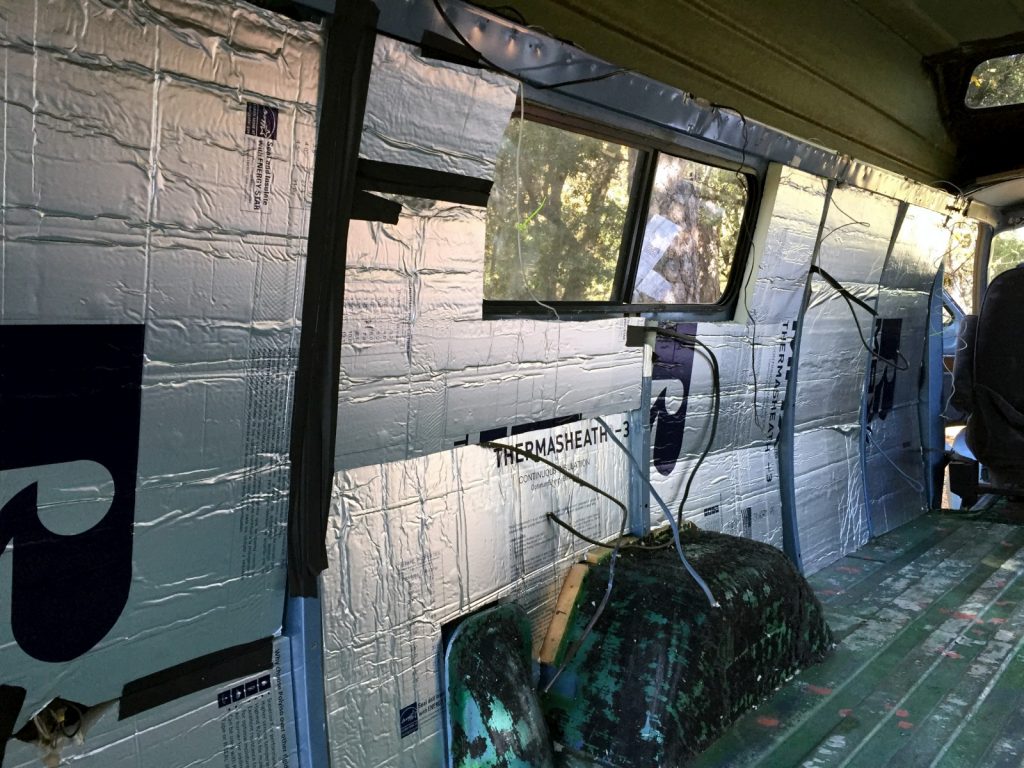
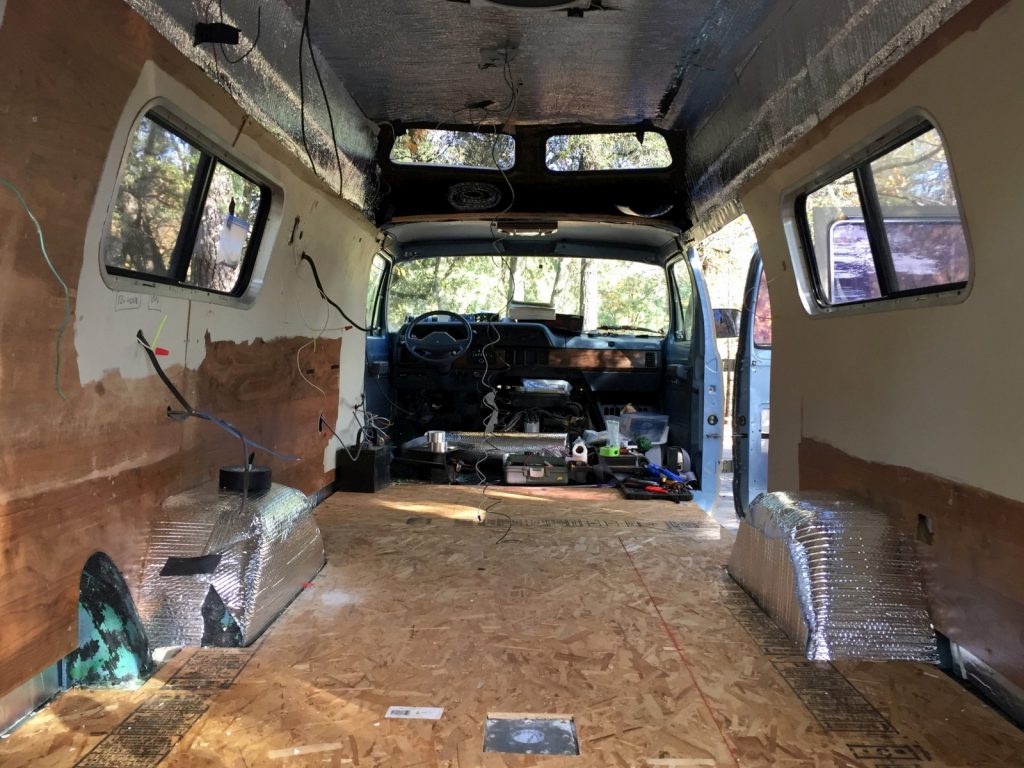
All the 12v wiring was pulled and replaced as well. With the battery bank being relocated from the far rear of the van to behind the driver’s seat, it was a necessity. Some additions to the wiring now splits it up into six zones (originally three) which can be fused independently; driver’s side wall outlets, passenger’s side wall outlets, additional 12v outlets, recessed ceiling lighting, MaxxAir fan, and one for the fridge. With that complete, the 1.5 inch rigid board insulation (R value 9.5, yay!) was added into the walls, and Reflectix (R value 2-ish, meh) covered the fiberglass topper.
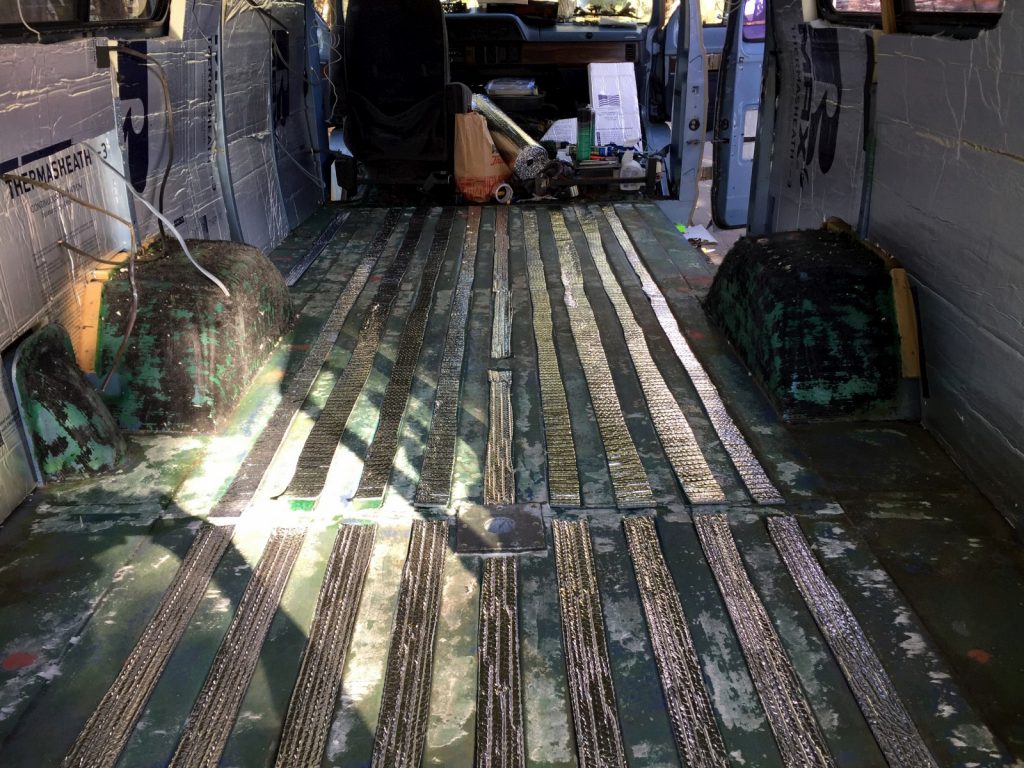
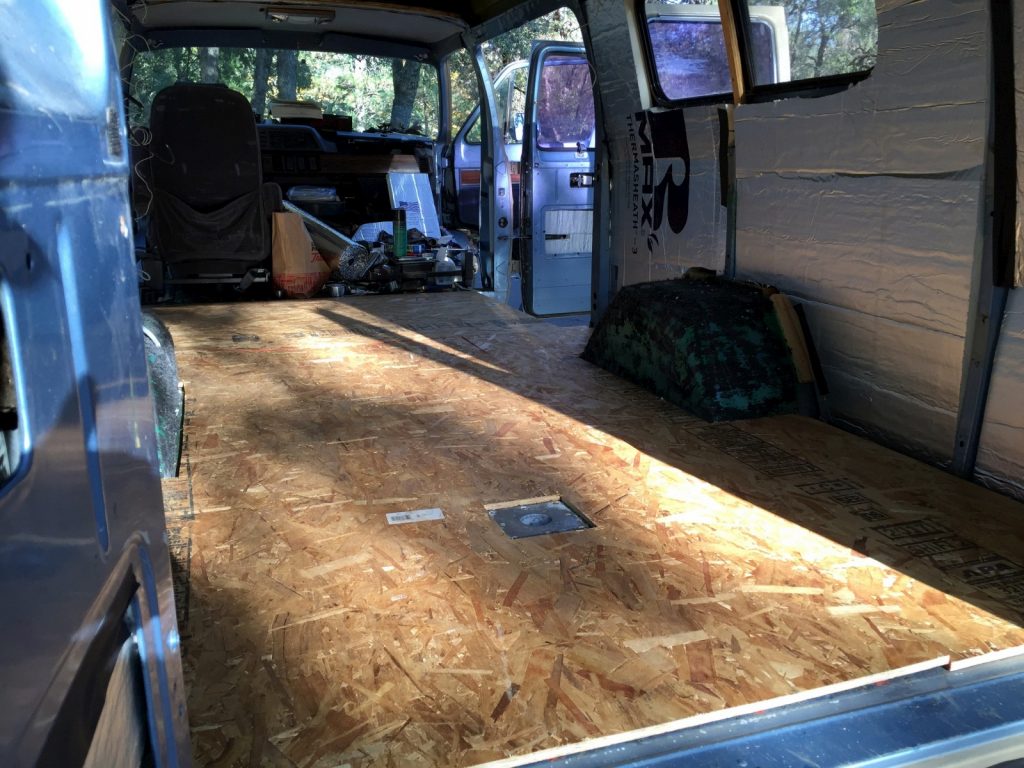
Repairing the many dozens of screw holes that penetrated the bottom of the van was a priority. I really wanted to get this thing as water-tight as possible before the next year – Kerri is crazy about the possibility of leaks, mold, or mildew. Once the entire carpet and padding were pulled, a full audit of the floor and filling of every hole took place. Only then could the sub-floor be put in place, bolted directly too the chassis of the van.
Finally, after a weeks worth of work the walls were re-installed (after a thorough cleaning) which will be used as a foundation for our new walls to be glued and stapled onto. Now I have a full and proper blank canvas to work from, with better wiring for our needs, and a whole lot more insulation. Big Blue really had zero insulation in it before, so this will be a major step forward. In fact, there was no floor either. The old carpet was laid directly over a thin foam cushion glued to the metal floor. The new, level, sub-floor will make a world of difference as well.


Thank you for the detailed notes and clear photos. I will be using this information to create my mobile domicile (when I find one on Craigslist ☺)
It’s my pleasure Jeff. Good luck in your search!